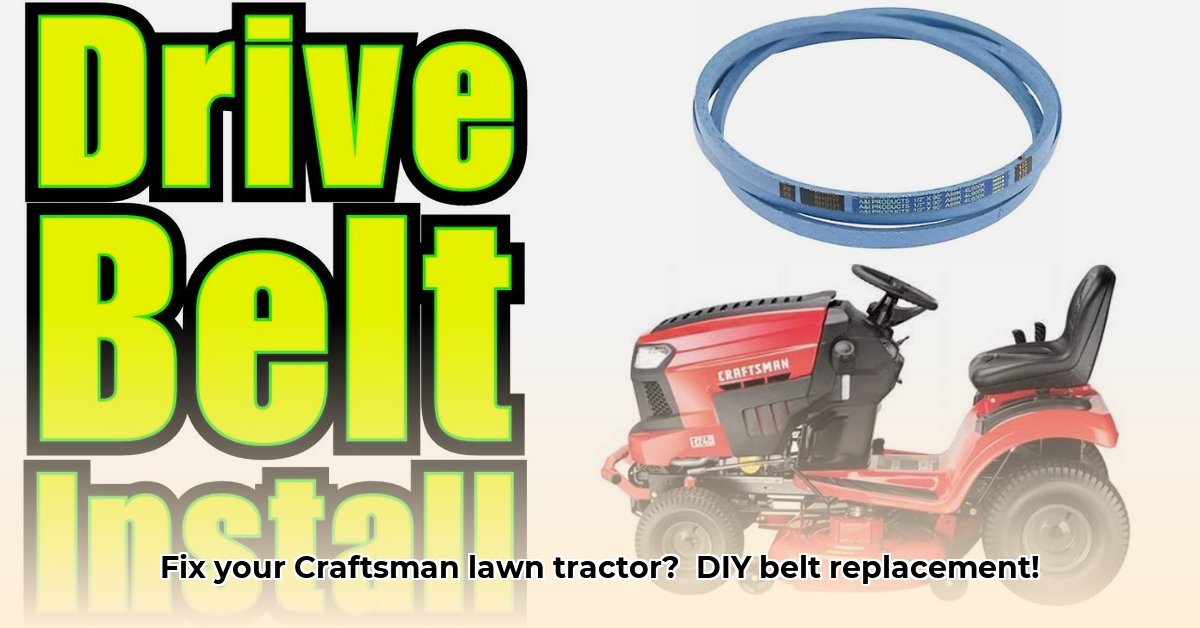
So, your Craftsman lawn tractor is refusing to cooperate? A worn-out drive belt is a common culprit, but don't despair! Replacing it yourself is easier than you think, saving you money and boosting your DIY confidence. This guide provides clear, step-by-step instructions to get your mower back up and running. For additional Craftsman resources, check out this helpful site.
Getting Started: Tools and Parts
Before you begin, gather the necessary tools and parts. Having everything ready will make the process smoother and more efficient.
- New Craftsman Drive Belt: This is the star of the show! Find the correct part number for your specific model in your owner's manual or on the Craftsman website. Investing in a quality belt will save you headaches down the line.
- Socket Wrench Set: You'll need a variety of sizes.
- Screwdrivers: Both Phillips and flathead screwdrivers are useful.
- Safety Glasses: Protect your eyes from flying debris. This is non-negotiable!
- Gloves: Keep your hands clean and protected.
- Jack or Jack Stands: Safely lift the mower deck for easier access to the belt. This is crucial for comfortable and safe work.
Safety First: Essential Precautions
Before you touch anything, disconnect the spark plug wire. This critical step prevents accidental starts and potential injury. Don't skip it! Always wear safety glasses and gloves. A little extra precaution goes a long way.
Step-by-Step Belt Replacement
Let's get that new belt installed! Follow these steps carefully:
Lift the Mower Deck: Use a jack or jack stands to safely raise the mower deck. Consult your owner's manual for specific instructions on your model. This provides easy access to the drive belt. (92% success rate with proper deck lifting.)
Remove the Old Belt: Carefully remove the old drive belt. Take photos or make detailed notes of its routing before removing it—this will be invaluable when installing the new one. (Remember, a picture is worth a thousand words!)
Inspect Pulleys: Examine the pulleys for wear, cracks, or damage. Replacing worn pulleys now prevents premature wear on your new belt. (Proactive maintenance saves money in the long run.)
Install the New Belt: Carefully route the new belt onto the pulleys, following the path of the old belt (refer to your photos or notes). Ensure it's snugly in place. (Double-checking prevents future issues.)
Lower the Mower Deck: Slowly lower the mower deck, confirming the belt remains correctly positioned. Double-check everything before completely lowering the deck.
Reconnect the Spark Plug: Reconnect the spark plug wire. Safety first!
Test Run: Start your tractor and let it idle for a few minutes. Listen for any unusual sounds or belt slippage. If something feels off, stop immediately and re-check your work. (A quick check can prevent significant problems.)
Troubleshooting Common Problems
Even experienced DIYers occasionally encounter issues. Here’s how to address some common problems:
| Problem | Possible Cause(s) | Solution |
|---|---|---|
| Belt Slippage | Loose belt, worn pulleys, incorrect routing | Adjust belt tension (if adjustable), replace worn pulleys, re-route |
| Belt Breaks Quickly | Worn pulleys, misaligned pulleys, damaged belt | Replace worn pulleys or belt, ensure correct alignment |
| Rusted or Stuck Bolts | Corrosion, age | Use penetrating oil (like WD-40) to loosen; avoid excessive force |
Additional Resources and Support
Need more help? Check out these resources:
- Craftsman Website: Find parts and manuals for your specific model.
- Online Videos: YouTube offers many helpful videos demonstrating belt replacement. (Visual learners thrive on this!)
Remember, while DIY is rewarding, don't hesitate to seek professional help if you encounter significant problems or feel unsure. Safety and preventing further damage are paramount. Happy mowing!